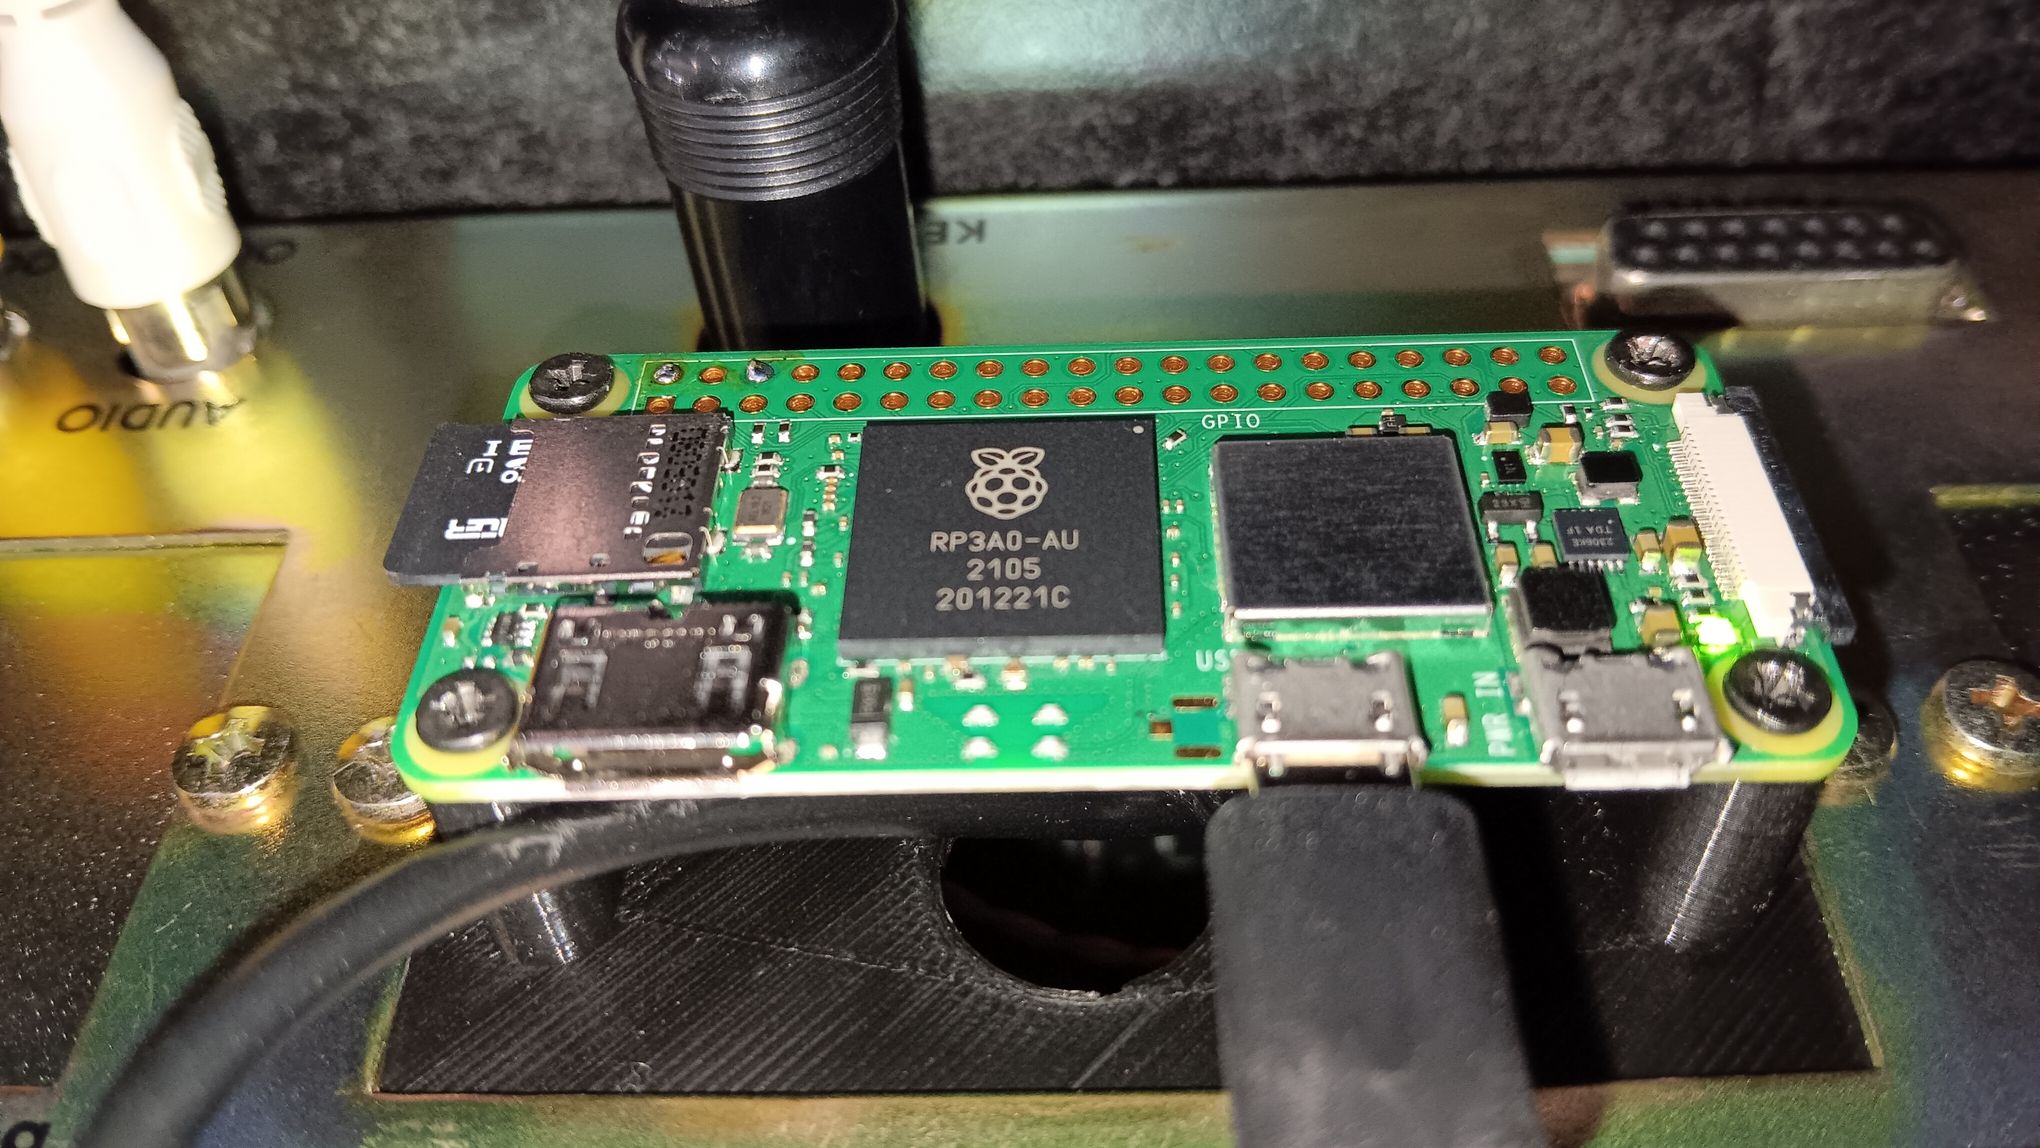
Instructions for installing and configuring the NABU RetroNET Internet Adapter software to run as a service on a Raspberry Pi Zero 2 W. Do this when creating a standalone NABU which has the Pi mounted to the NABU and connected by an internal RS4222 to USB converter or to simply create a self-starting, headless Internet Adapter.
Prerequisites
- Know how to use the text editor Nano. The instructions assume you are using Nano, but any Linux text editor can be used.
- Choose a password to be used with the username nabuia.
- Know the exact spelling of the Wifi which the Pi will connect to.
- Know the password for the Wifi which the Pi will connect to.
Document Style
The instructions will use the following styles to define text references.
- Text seen on screen will be highlighted with a pink background. This includes text that may be selected or simply viewed.
- Text seen on screen that is prompting for some type of input will be highlighted in white and will be italicized.
Text to be typed, either into a data field or for a command, will use the inline code text and will highlighted with a light green background. This is a special mode which allows the text to be copy-pasted correctly.- Text inside of {curly braces} means that what you are to type into the field or command is described inside the {} or is a reference to what you have previous entered. Do not type {} into the field or command, the curly braces are placeholders only.
- A word or phrase <inside of less than and greater than symbols> refers to a button of the same word for phrase in the Raspberry Pi Software Configuration Tool. This text will be highlighted in pink in the instructions.
- A word or phrase [ inside of brackets ] refers to a button of the same word or phrase in the Internet Adapter text-based user interface. This text will be highlighted in pink in the instructions.
- In the instructions, “press Enter” or “press Tab” refer to pressing the Enter or Tab keys on the keyboard.
Useful Information
The instructions are written for a Raspberry Pi Zero 2 W with an attached keyboard and monitor. The Pi will connect to Wifi using using DHCP. It may be helpful, but not necessary, to use a static IP or assign the same IP every time via DHCP. Doing so is beyond the scope of these instructions.
It is not required to connect to the Pi via SSH for the basic setup. However, using SSH will make setup much easier, so that you can copy-paste configuration data. How to connect to a Pi using SSH is outside the scope of these instructions but the initial configuration of the Pi enables SSH, and the instructions will have you identify the current IP of the Pi at the appropriate time.
These instructions are written to configure Raspberry Pi OS using the raspi-config tool. The Raspberry Pi Imager software’s Advanced Settings allow pre-configuration of some items however the Imager creates an encrypted Wifi password, which is not compatible with some Wifi access points. If using the Imager to write the Raspberry Pi OS image to SD card, do not attempt to pre-configure the OS.
These instructions are based on Raspberry Pi OS Lite (32-bit) Debian Bookworm, release date 2024-03-15 and NABU RetroNet’s Internet Adapter release 2024.05.18.00. The Internet Adapter software is in rapid development at the time of this writing. Some things may change in future releases and may not be reflected in these instructions.
These instructions assume that all Pi commands are executed from the nabuia user’s home directory. This is where the user lands upon login, so as long as the working directory is not changed, there is no need to consider any additional path information in these instructions.
A USB hub is not required or recommended. The instructions are written so that the keyboard and RS4222 to USB converter are not connected at the same time. If a USB hub is used, the device path of the RS422 to USB converter will not be /dev/ttyUSB0 and will change depending on what devices are connected via USB. You have been warned.
When everything is setup and running, expect the time to boot after powering on to be about 35 seconds. When the Pi and NABU are powered on at the same time, expect to see an ADAPTER FAILURE message on the NABU during the initial boot process. Once PLEASE WAIT is displayed on the NABU, the NABU has connected to the Internet Adapter on the Pi and will begin loading the RetroNET menu.
Instructions
- Use the utility of your choice to burn the Raspberry Pi OS image to an 8 GB or larger micro SD card.
- Connect a keyboard and monitor to your Raspberry Pi Zero 2 W and boot the Pi with the micro SD card.
- Once the system boots to the configuration utility, enter the following data:
- Keyboard layout: If you are in the US, select Other then English (US). This changes the list to US keyboards. Use the same procedure to list keyboards in your country if not in the US.
- Back at the Keyboard layout list, select English (US) at the top of the list, then press Enter.
- Please enter new username: Type
nabuiathen press Enter. - Please set a password for nabuia: Type a password you would like to use, then press Enter.
- Please confirm the password: Type the same password again, then press Enter.
- At the login prompt, login using the username
nabuiaand the just created password. - Begin the OS configuration by typing
sudo raspi-configand press Enter. You will now see the Raspberry Pi Software Configuration Tool menu. - Select option 1 System Options and press Enter.
- In the next menu, select option S1 Wireless LAN and press Enter.
- Select the country in which the Pi is to be used Select your country from the list then press Enter.
- You will see Wireless LAN country set to {your country two letter code}. Press Enter.
- Please enter SSID Enter the SSID of your Wifi network and press Enter.
- Please enter passphrase. Leave it empty if none. Enter your Wifi network passphrase and press Enter.
- Back at the main menu, select option 1 System Options and press Enter.
- In the next menu, select option S4 Hostname and press Enter.
- An instructional note will display. Press Enter.
- Please enter a hostname Remove the pre-populated hostname. Type
nabuiaand press Enter.
- Back at the main menu, select option 3 Interface Options and press Enter.
- In the next menu, select option I1 SSH and press Enter.
- Would you like the SSH server to be enabled? Press Tab until <Yes> is selected then press Enter.
- Your SSH server is enabled Press Enter.
- Back at the main menu, select option 5 Localization Options and press Enter.
- In the next menu, select option L2 Timezone and press Enter.
- Geographic area: Select your primary geographic area and press Enter.
- For US, select US and not Americas.
- Time zone: Select your timezone and press Enter.
- Geographic area: Select your primary geographic area and press Enter.
- Back at the main menu, press Tab until is <Finish> is selected, then press Enter.
- Would you like to reboot now? Press Enter to reboot.
- When prompted, log into the Pi.
- Obtain the current Pi IP address and make a note of it.
- Type
ip aand press Enter. - Find the inet value under the wlan0 heading.
- The IP is the address between inet and /
- Type
- From this point forward, it is possible to finish the configuration by using SSH to connect to the Pi but it is not necessary. How to connect to the Pi via SSH is beyond the scope of this document.
- Apply all updates using these two commands:
- If you have never had problems updating a Pi:
- Type
sudo apt updateand press Enter. - Type
sudo apt -y dist-upgradeand press Enter.
- Type
- Alternatively, if you have previously had problems with the hostname archive.raspberrypi.com resolving to an IPv6 address when you do not use IPv6, or have had update problems when updating a clean Pi build and don’t know why:
- Type
sudo apt -o Acquire::ForceIPv4=true updateand press Enter. - Type
sudo apt -o Acquire::ForceIPv4=true -y dist-upgradeand press Enter.
- Type
- Updates can take a long time and appear to stop. Don’t panic, just wait. Writing to SD card can be slow. Writing to a slow SD card can be brutally slow.
- If you have never had problems updating a Pi:
- Install an additional package which is required for the Internet Adapter.
- Type
sudo apt install -y libc6-devand press Enter.- This may already be installed, but attempt to install it to make sure.
- Type
- Download the latest RetroNET NABU Internet Adapter software and configure it for use.
- Type
wget https://cloud.nabu.ca/linux-arm.zipand press Enter. - Type
unzip linux-arm.zipand press Enter. - Type
chmod +x linux-arm/NABU-Internet-Adapter-84and press Enter. - Type
sudo usermod -a -G dialout nabuiaand press Enter. - Type
ln -s /usr/lib/arm-linux-gnueabihf/libdl.so.2 linux-arm/libdl.soand press Enter.
- Type
- Set the terminal to display color. This is necessary to see the Internet Adapter text user interface when using the Pi console.
- Type
echo 'export TERM=xterm-256color' >> .bashrcand press Enter.
- Type
- Reboot the Pi.
- Type
sudo rebootand press Enter.
- Type
- When prompted, log into the Pi.
- Start the Internet Adapter to create the configuration files, then exit it.
- Type
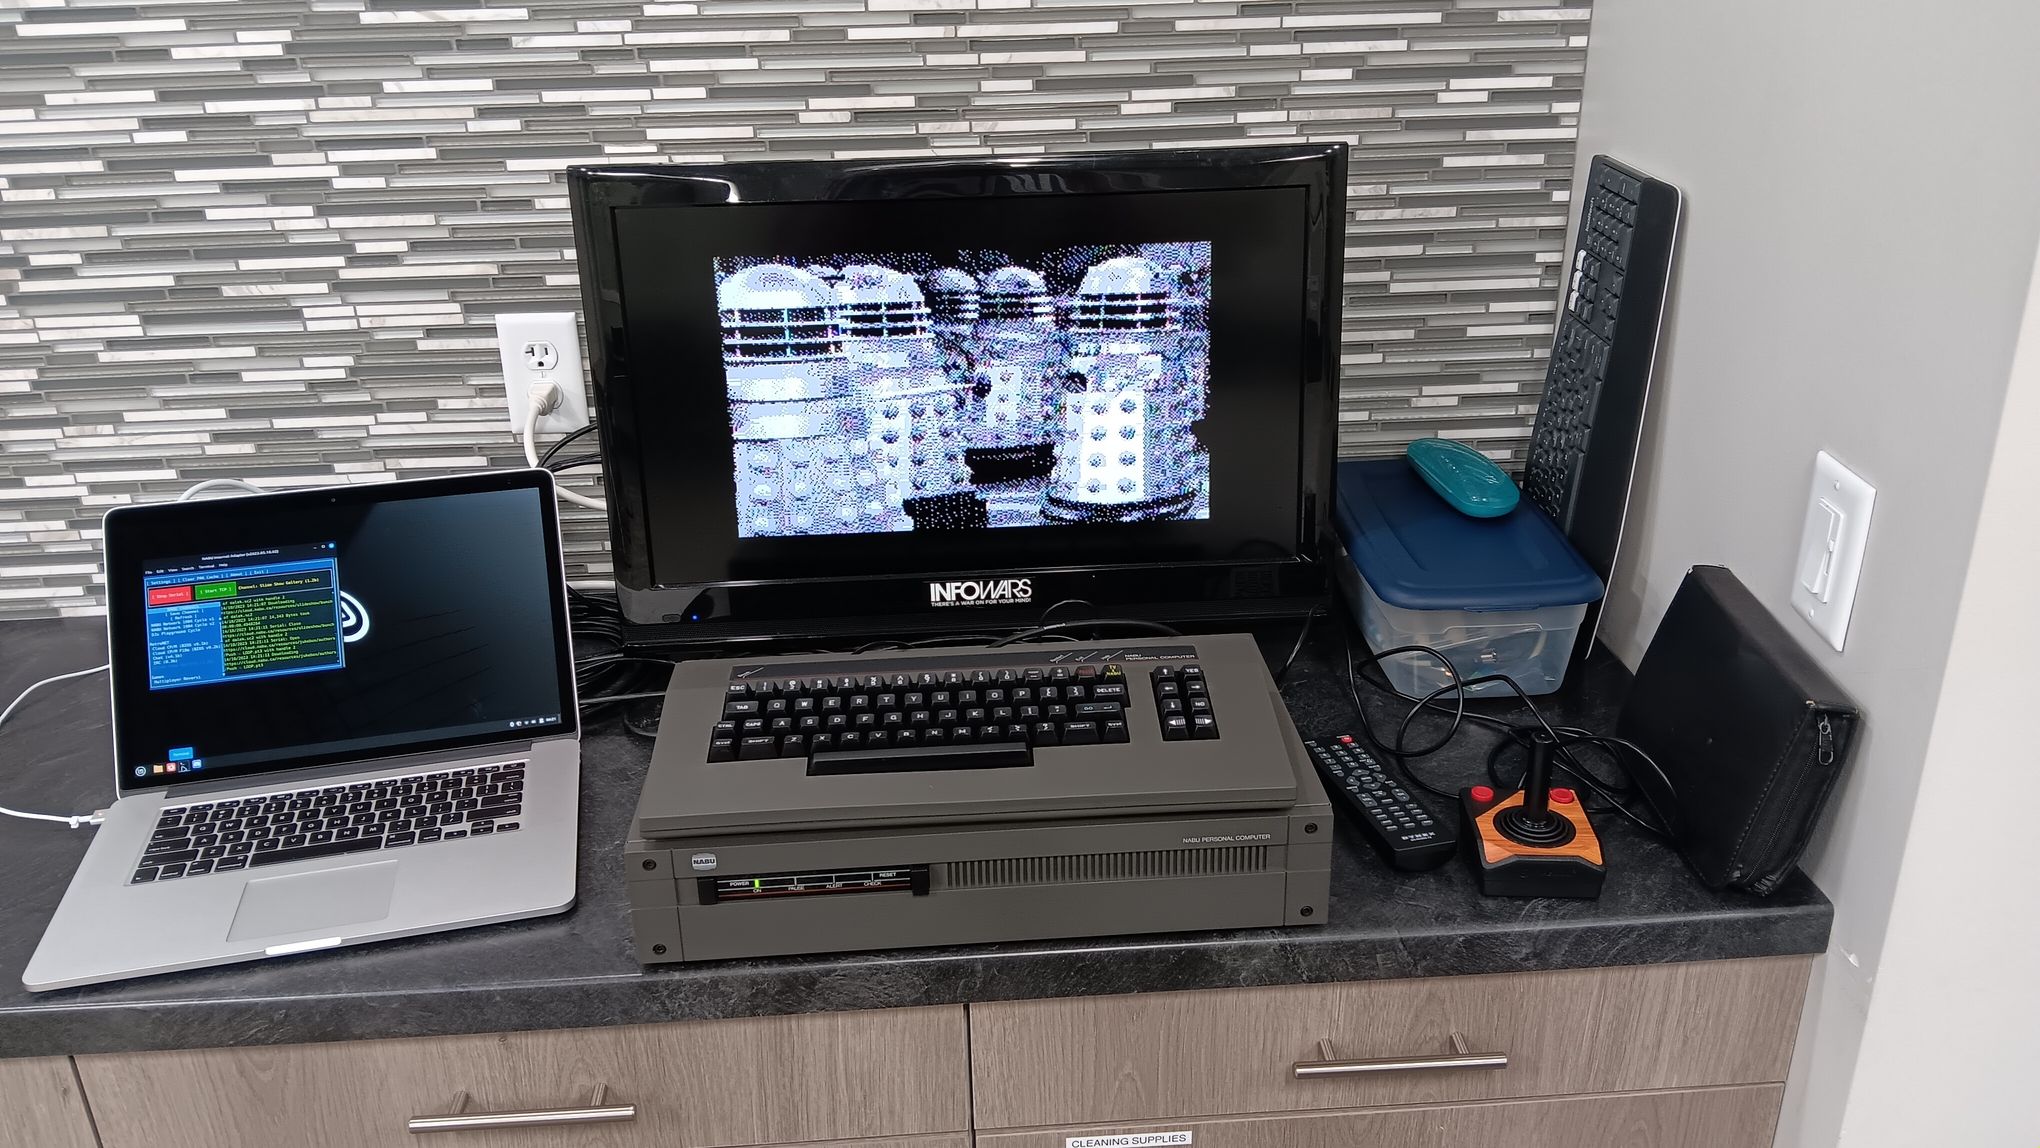
./linux-arm/NABU-Internet-Adapter-84and press Enter to start the Internet Adapter. - [ Settings ] will be selected. Press Enter.
- In the Settings screen, press Tab until [ Save ] is selected, then press Enter.
- Back on the main screen, press Tab until [ Download All Things ] is selected then press Enter.
- Download resources to local cache folder for offline usage? [ Yes (approx 400mb) ] will be selected. Press Enter.
- A file named allYourBase.zip will download without a progress indicator. When the download is finished, the individual files will extract showing a progress indicator.
- Don’t panic if it appears the extraction has stopped. Writing to the SD card is slow.
- The extraction is finished when you see Extracting all things took {time for extraction}.
- Download resources to local cache folder for offline usage? [ Yes (approx 400mb) ] will be selected. Press Enter.
- Press Tab until [ Exit ] is selected, then press Enter.
- Type
- Edit the Internet Adapater configuration file.
- Type
nano 'NABU Internet Adapter/config.xml'and press Enter. - Find the line <COM_Port /> and replace it with
<COM_Port>/dev/ttyUSB0</COM_Port> - Find the following tags and edit the value between them to the following values:
- <AutoStartSerialServer> change the value to
true - <BaudRate5> change the value to
115200
- <AutoStartSerialServer> change the value to
- Save the file and exit Nano.
- Type
- Create a service file to run the Internet Adapter in the background.
- Type
sudo nano /etc/systemd/system/nabu_internet_adapter.serviceand press Enter. - Add the following lines:
- Type:
[Unit]
Description=NABU Internet Adapter
After=network.target

[Service]
WorkingDirectory=/home/nabuia
ExecStart=/home/nabuia/linux-arm/NABU-Internet-Adapter-84 -n
Restart=always
User=nabuia
Environment=TERM=xterm
StandardOutput=null
StandardError=null
SuccessExitStatus=143

[Install]
WantedBy=multi-user.target - Save the file and exit Nano.
- Type:
- Type
- Enable the Internet Adapter service and start it.
- Type
sudo systemctl daemon-reloadand press Enter. - Type
sudo systemctl enable nabu_internet_adapter.serviceand press Enter. - Type
sudo systemctl start nabu_internet_adapter.serviceand press Enter.
- Type
- Connect the RS4222 to USB converter to the NABU and Pi. This will require disconnecting the keyboard from USB. The Pi’s monitor may now be disconnected at any time.
- The NABU should now connect to the Internet Adapater, automatically running in the background.
- It may be necessary to press the Reset button on the NABU if the NABU does not connect to the Pi after 30 seconds.
- If pressing the Reset button on the NABU doesn’t help, power off and restart the Pi and the NABU. Sometimes the Internet Adapter service does not start as expected, even though the service is running.
Optional Configuration & Operation
Proper NABU and Pi shutdown procedure
It is recommended to properly shutdown the Pi and to not simply cut power from it. Generally, powering it off without a proper shutdown won’t be a problem but there is a slight chance it can corrupt data on the SD card. This is the proper procedure for a safe shutdown of the Pi.
- SSH into the Pi.
- Type
sudo shutdown nowand press Enter. - Observe the green activity LED on the Pi and wait 10 seconds after it turns off before continuing.
- If you can’t see the green activity LED, wait at least 30 seconds after issuing the shutdown command before continuing.
- Power off the Pi, if it is not being powered by the NABU.
- Power off the NABU.
The NABU can be powered off at any time unless it is providing power to the Pi. Best practice will be to power off the NABU once the Pi has finished powering down.
Add an additional Wifi connection
When moving the NABU to a new location, it is handy to add that location’s Wifi to the Pi for use by the Internet Adapter. Since the primary instructions include downloading “all things,” it’s not necessary to connect the Pi and Internet Adapter to Wifi all the time, but there may be a reason to do so.
The idea behind this method is that you can add Wifi for the Pi without connecting a monitor and keyboard. This is done by editing the necessary files directly on the SD card with another computer. I’ve used this method for about a year with great success. I didn’t occur to me until I began putting these instructions together that most people don’t run Linux on their primary computers and laptops. This text editing method is very simple if you can access the partition of the SD card named “rootfs” using another computer. Accessing this partition is simple when using Linux but in Windows you must use the Windows Subsystem for Linux in order to access the rootfs partition as it uses the EXT4 filesystem.
Microsoft has a guide for mounting partitions in WSL. Good luck. https://learn.microsoft.com/en-us/windows/wsl/wsl2-mount-disk
Once you mount the rootfs partition of the SD card, navigate to it using the terminal. The file must be copied and edited as root. If you know how to do this with a GUI, you can use that option however the instructions are written for use in a terminal.
These instructions are for an advanced user, so they won’t tell you to when to type and to press Enter.
- Determine where the SD card is mounted in the filesystem.
- For example, I would find the SD card (and therefore the rootfs partition), in /media/christopher/rootfs. My Linux distribution auto-mounts partitions in /media, my username is christopher, and the partition name is rootfs.
- For these instructions, I will be using {mount path} to define the path to rootfs. Replace {mount path} with your mount path to rootfs.
- Change the working directory to the location where Wifi configuration is stored.
cd /{mount path}/rootfs/etc/NetworkManager/system-connections
- There will be an existing Wifi configuraiton file, ending with the file extension .nmconnection. List the files in the directory to find it.
ls
- Copy this file and give the copy a name that makes sense. It would be a good idea to use the SSID as the name.
sudo cp {existing Wifi name}.nmconnection {new Wifi name}.nmconnection
- Create a UUID and copy it to the clipboard or otherwise make a note of it.
cat /proc/sys/kernel/random/uuid
- Edit the copied .nmconnection file using Nano or a text editor of your choice.
sudo nano {new Wifi name}.nmconnection
- Edit the following lines, replacing what is currently in the copied file:
id={Any name to identify the connection. It can include spaces. Using the SSID here is a good idea.}uuid={The just created UUID}ssid={SSID for the new Wifi connection}auth-alg={This probably won't need to change, but if you have problems connecting, make sure the new Wifi uses this authentication algorithm.}key-mgmt={This probably won't need to change, but if you have problems connecting, make sure the new Wifi uses this method of key managment}psk={password for new SSID, in plain text}
- Save the .nmconnection file and exit Nano.
- Unmount the SD card and load it into the Pi.
- Power on the Pi.
Upon boot, the Pi will connect to an available configured Wifi. If the newly added Wifi configuration is the only available Wifi, then it will connect. If multiple configured Wifi connections are available, the Pi will connect to what it determines to be the best connection, so you might need to arrange to disable other configured Wifi access points to test the new configuration on the Pi.
Multiple .nmconnection configuration files can exist, and the Pi will connect to the best configured Wifi that is available.
These Wifi instructions may seem different than what has been done in the past. Raspberry Pi OS moved to the Network Manager style of configuration file starting with the Bookworm distribution.
Troubleshooting
Additional troubleshooting ideas will be added here as they are identified.
Work Backwards
If you get to the end of the build and find the NABU can’t connect to the IA, work backwards through the build instructions to troubleshoot the issue.
If you find where you’ve made a mistake, correct the mistake by re-working that section of the instructions. Re-work forward through the instructions from that point to finish the IA configuration.
All commands listed are to be run on the Pi by connecting to it via SSH.
- Check that the Internet Adapter service is running.
- Run
systemctl status nabu_internet_adapter.service - Look for the line which starts Active: and confirm that it says active (running) after the colon.
- If after the colon you see inactive (dead) then:
- Quit the service status viewer by pressing the Q key.
- Run
sudo systemctl start nabu_internet_adapter.service - Check the status of the Internet Adapter service again to confirm it is now running.
- Press the Q key to exit the status viewer.
- If after the colon you see inactive (dead) then:
- Run
- Check that the Internet Adapter service does not have a configuration error.
- Run
journalctl -n10 -u nabu_internet_adapter.service - This will show the last 10 lines of the IA service’s run log.
- The most recent entries are last in the list.
- While viewing the list, use the right and left cursor keys to scroll right and left.
- Pay attention to the timestamps and see if there are any errors which have occurred during the current run of the service.
- Note if there are errors which have occurred in the most recent time frame.
- Press the Q key to exit the log viewer.
- If there are current errors, review and correct the service configuration file:
- Stop the service if it is running with
sudo systemctl start nabu_internet_adapter.service - Edit the file with
sudo nano /etc/systemd/system/nabu_internet_adapter.service- Correct any errors
- Make the changes active with
sudo systemctl daemon-reload - Restart the service with
sudo systemctl start nabu_internet_adapter.service
- Stop the service if it is running with
- Run
- Check that the Internet Adapter can run.
- Stop the Internet Adapter. It may not be running but attempt to stop it in case it is running.
- Run
sudo systemctl stop nabu_internet_adapter.serviceto stop the service. - Run
./linux-arm/NABU-Internet-Adapter-84to start the Internet Adapter in the terminal.- The IA is configured to start the serial interface automatically. Reset the NABU and it should connect to the IA.
- Stop the Internet Adapter by tabbing to [ Exit ] and pressing Enter.
- Run
- Stop the Internet Adapter. It may not be running but attempt to stop it in case it is running.
- Review the Internet Adapter configuration file.
- Run
nano 'NABU Internet Adapter/config.xml'to open the file- Review the file contents to confirm that the previous edits were made correctly.
- Run