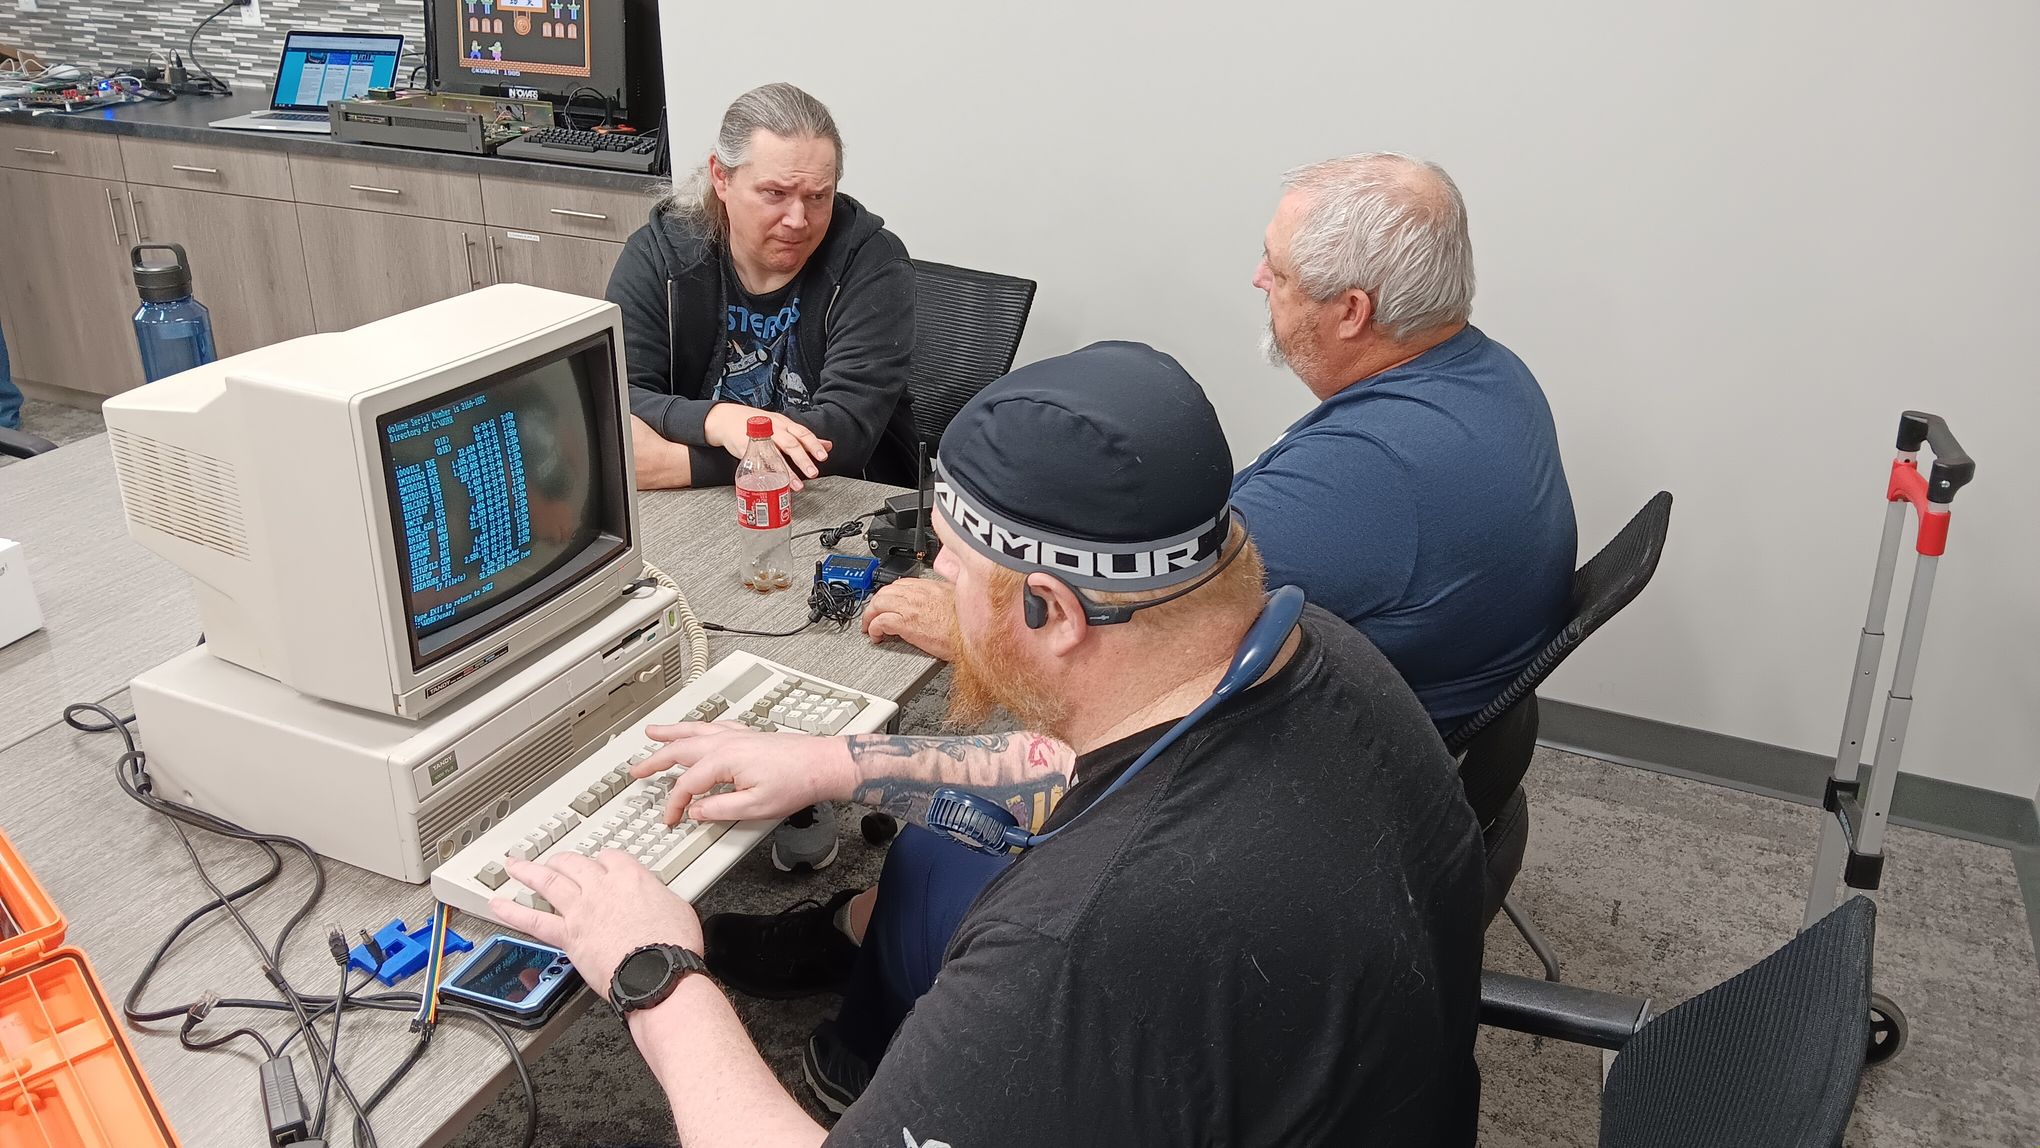
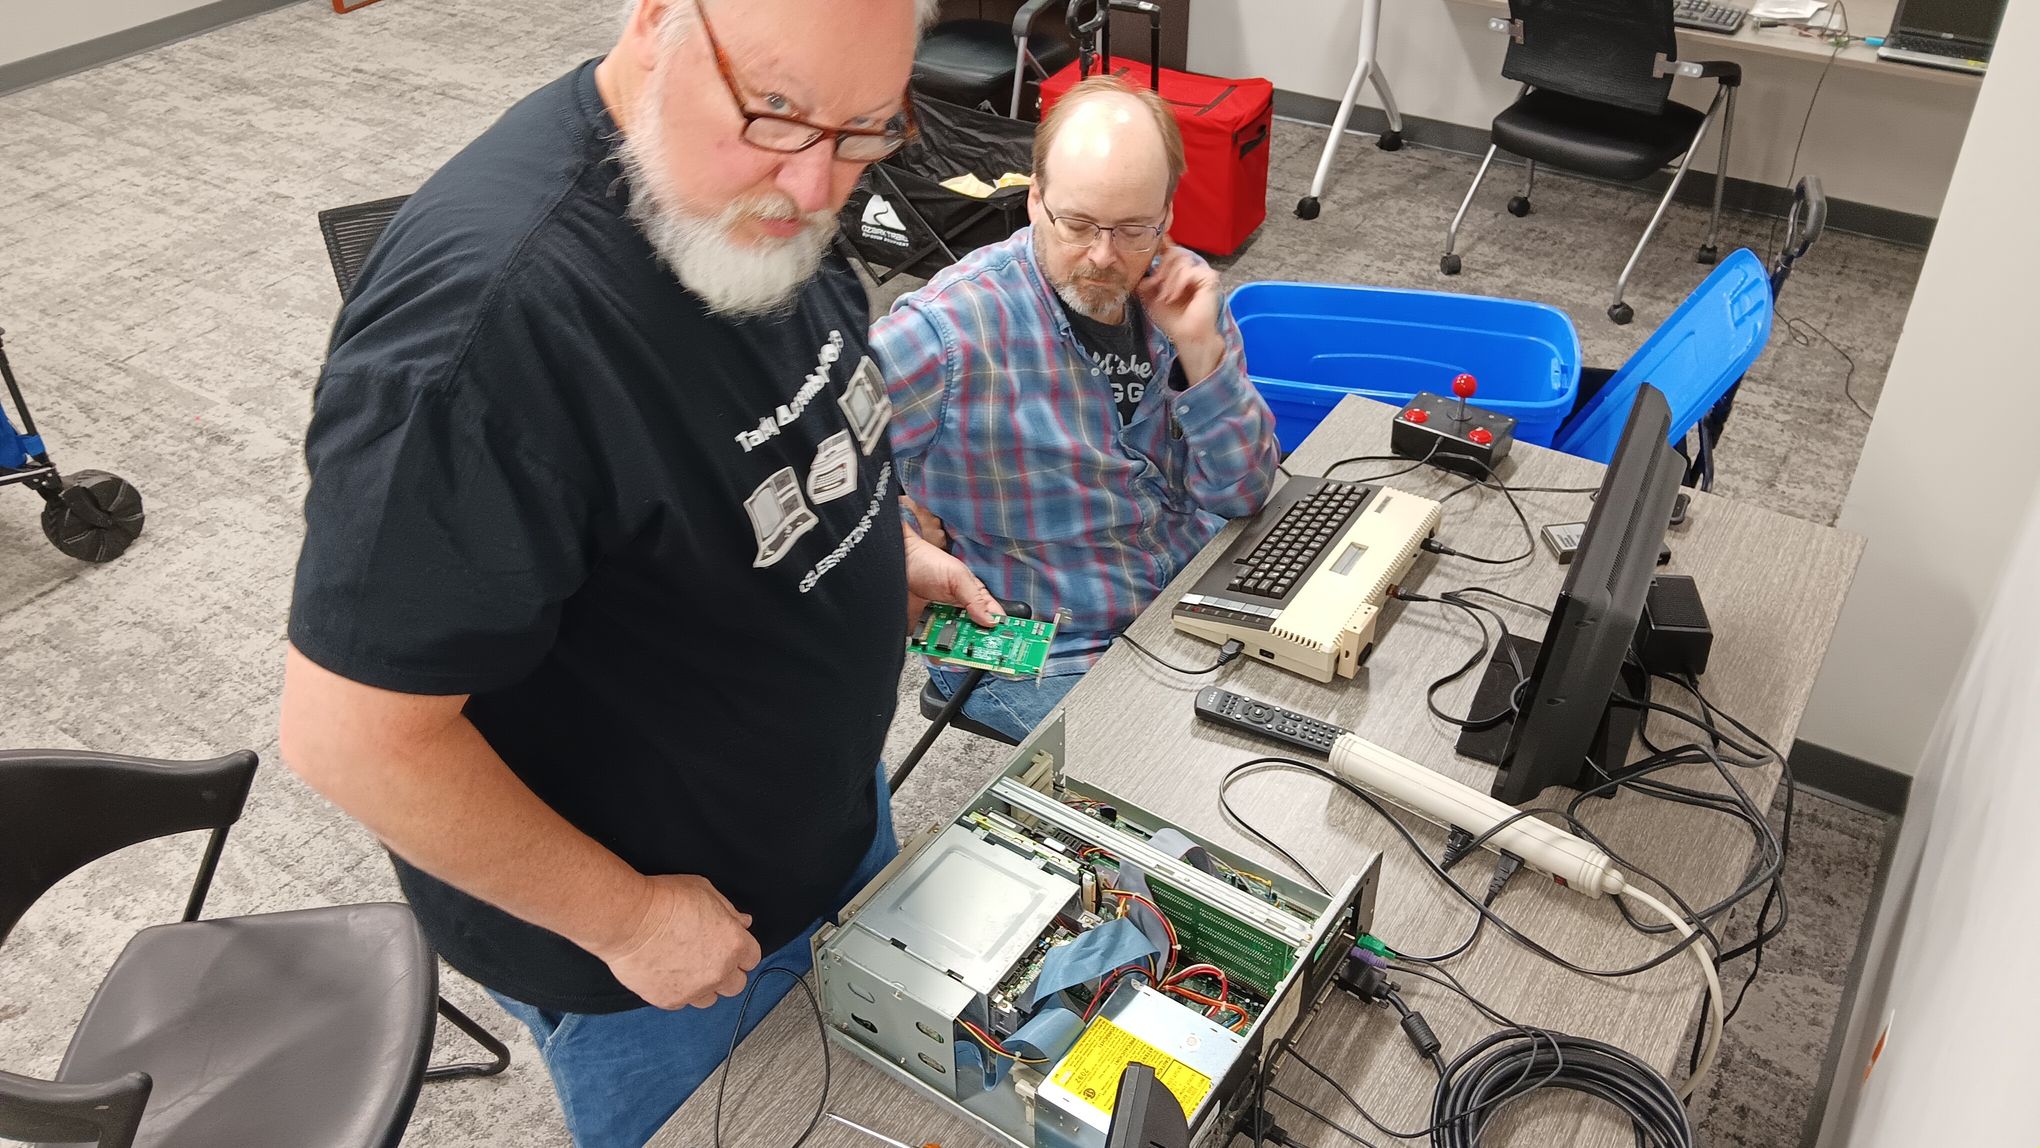
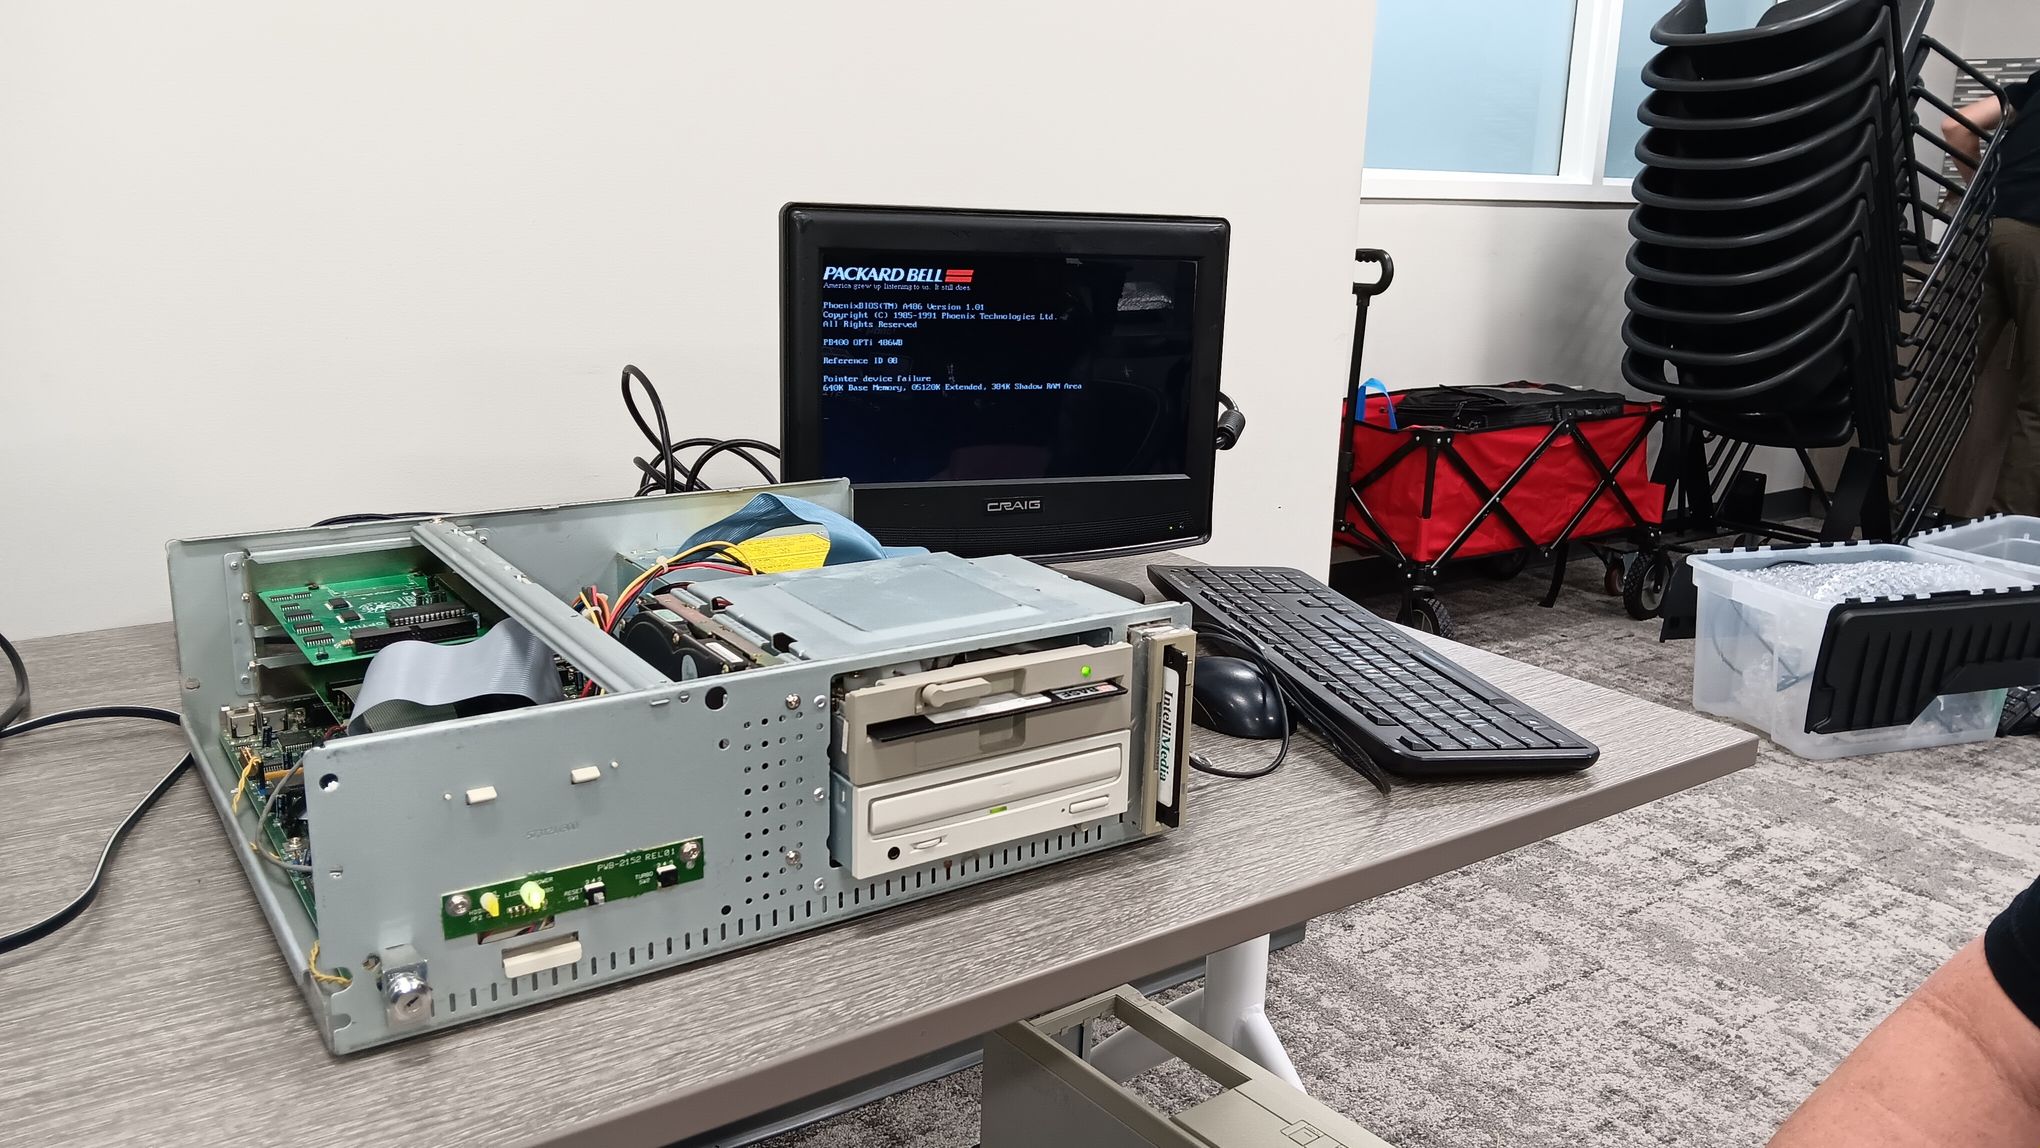
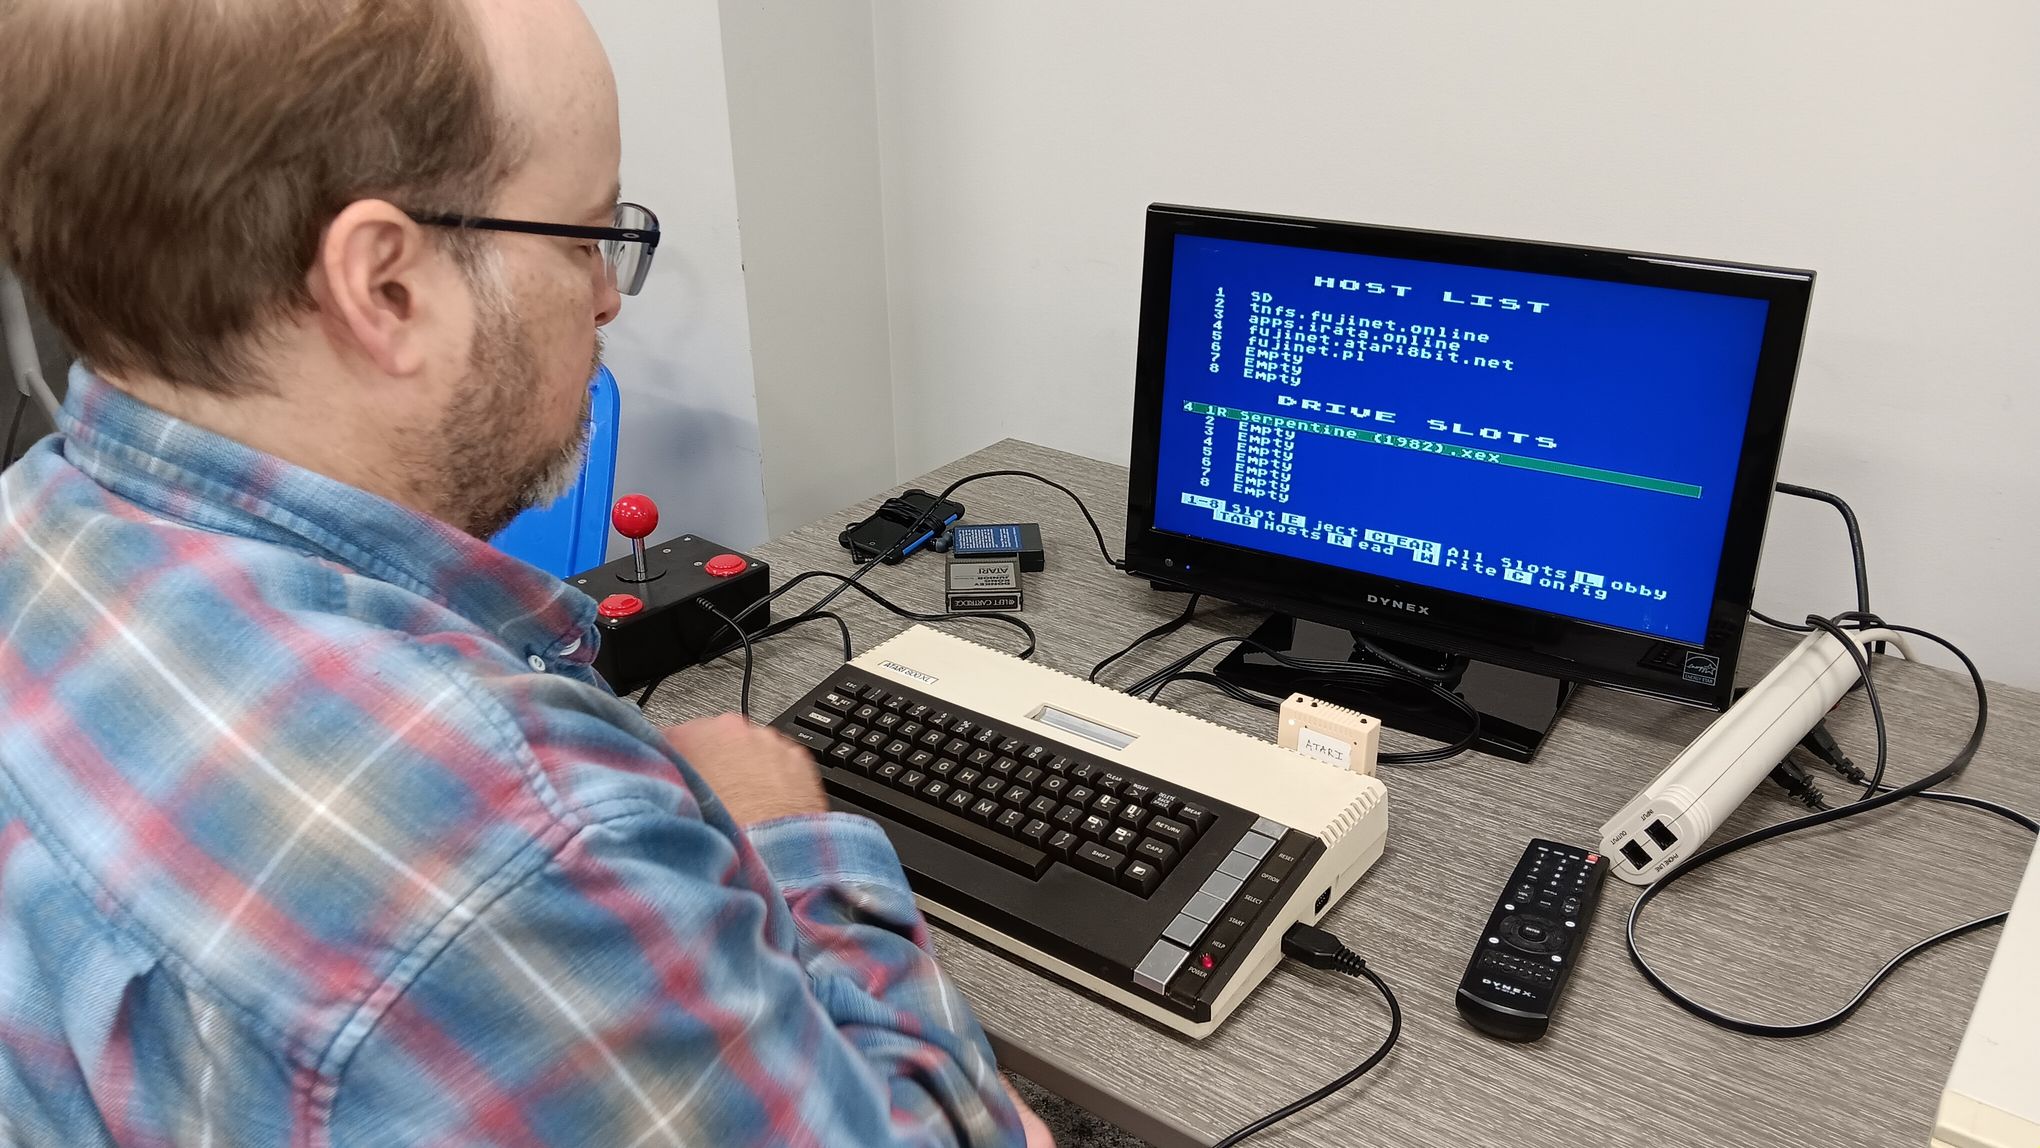
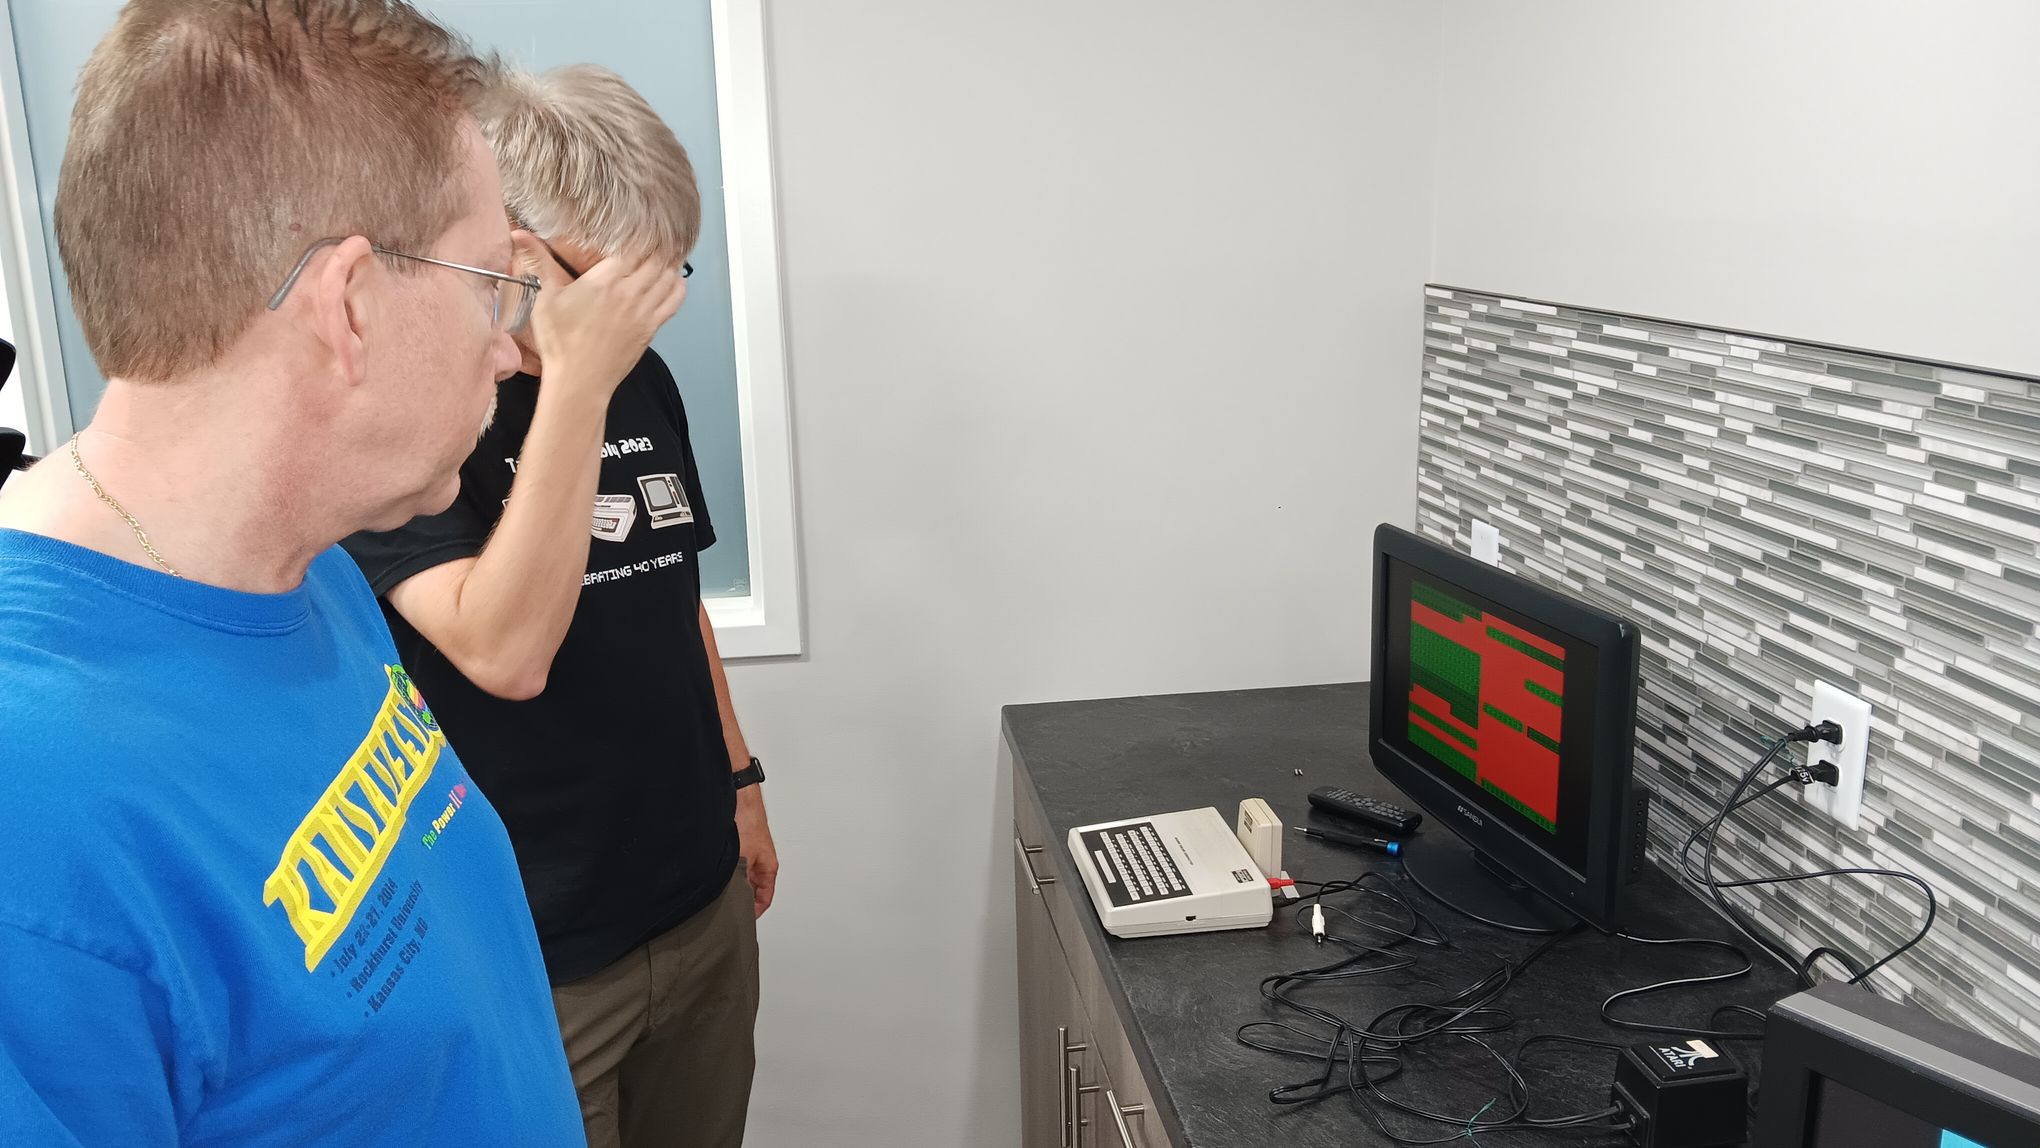
Pictures from the Indianapolis Vintage Computer Club meeting on October 14, 2023.
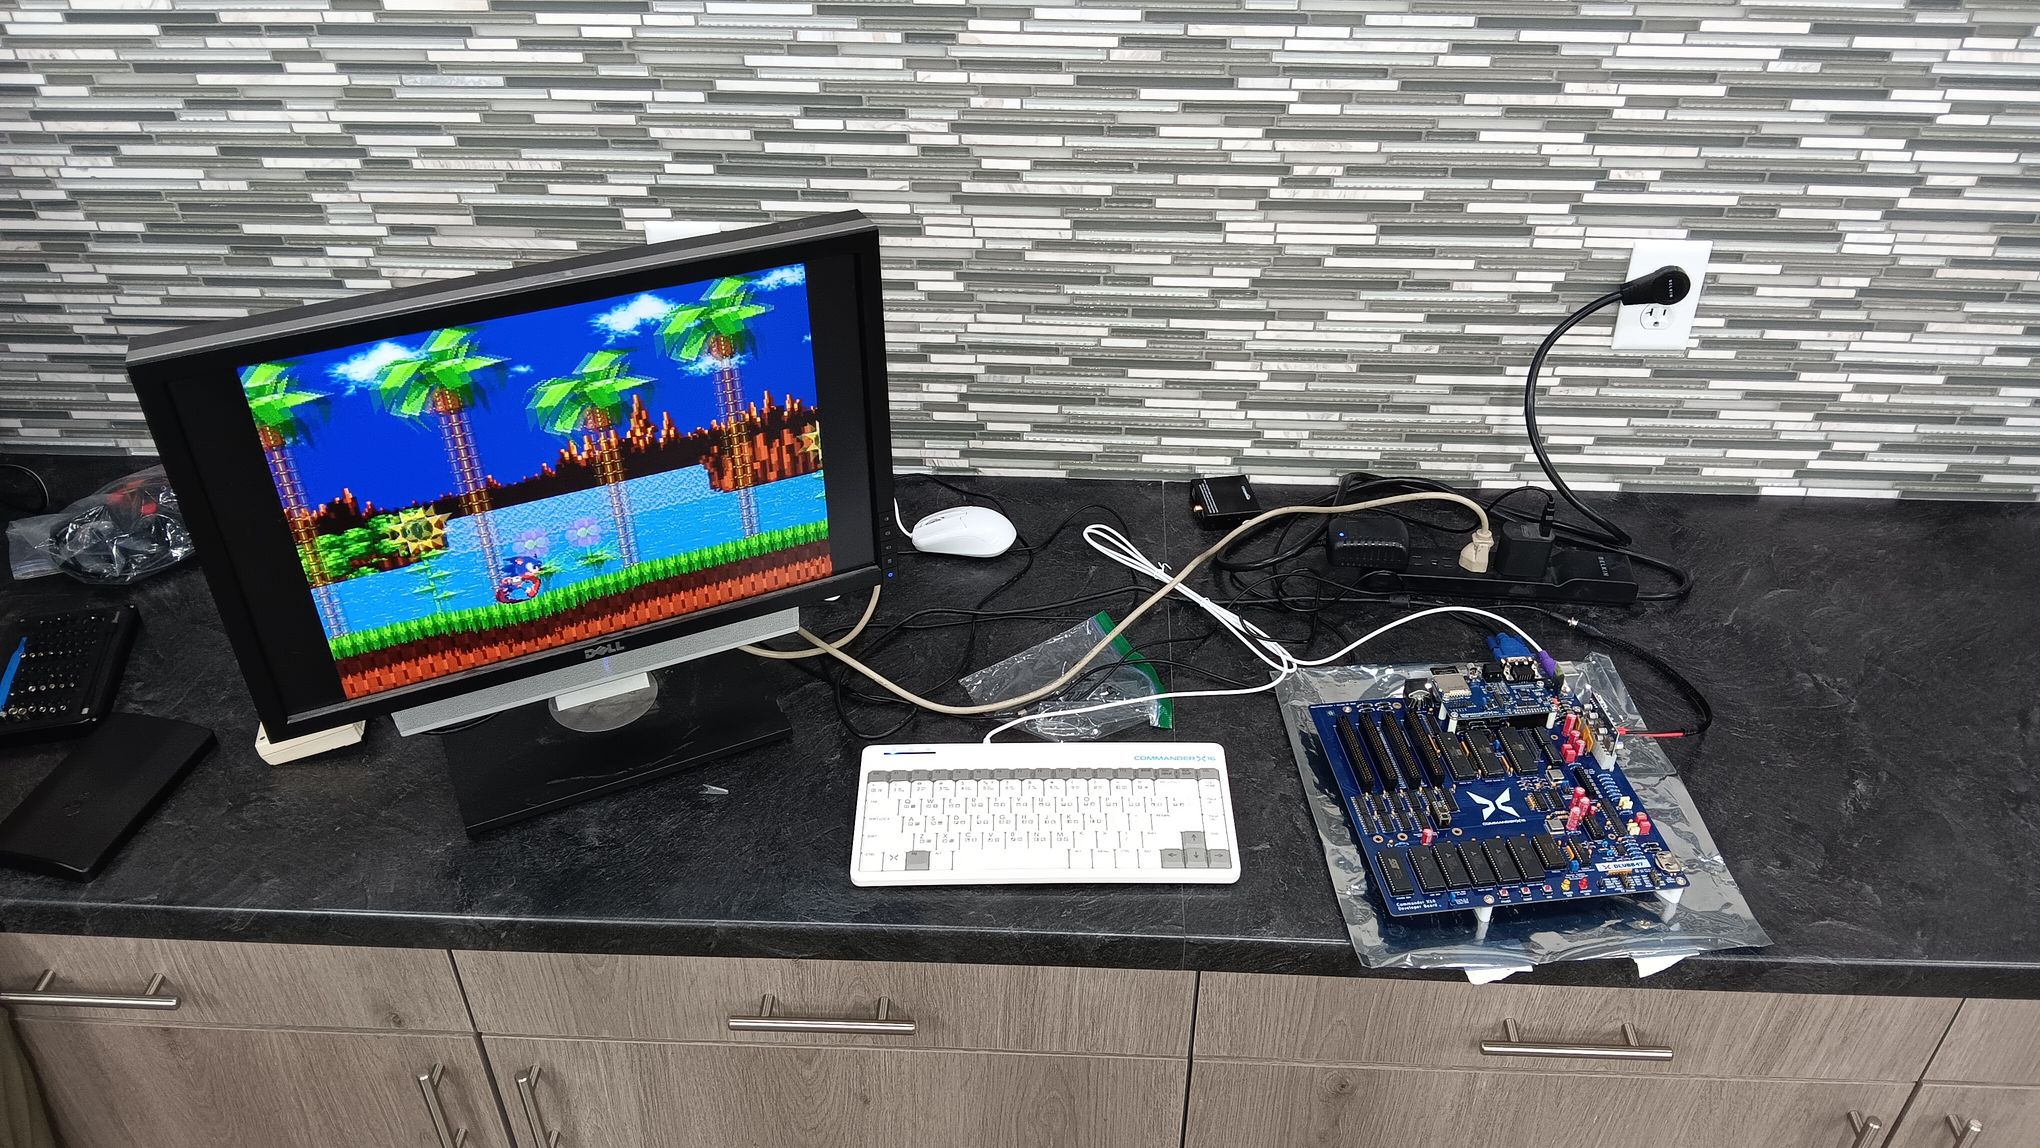
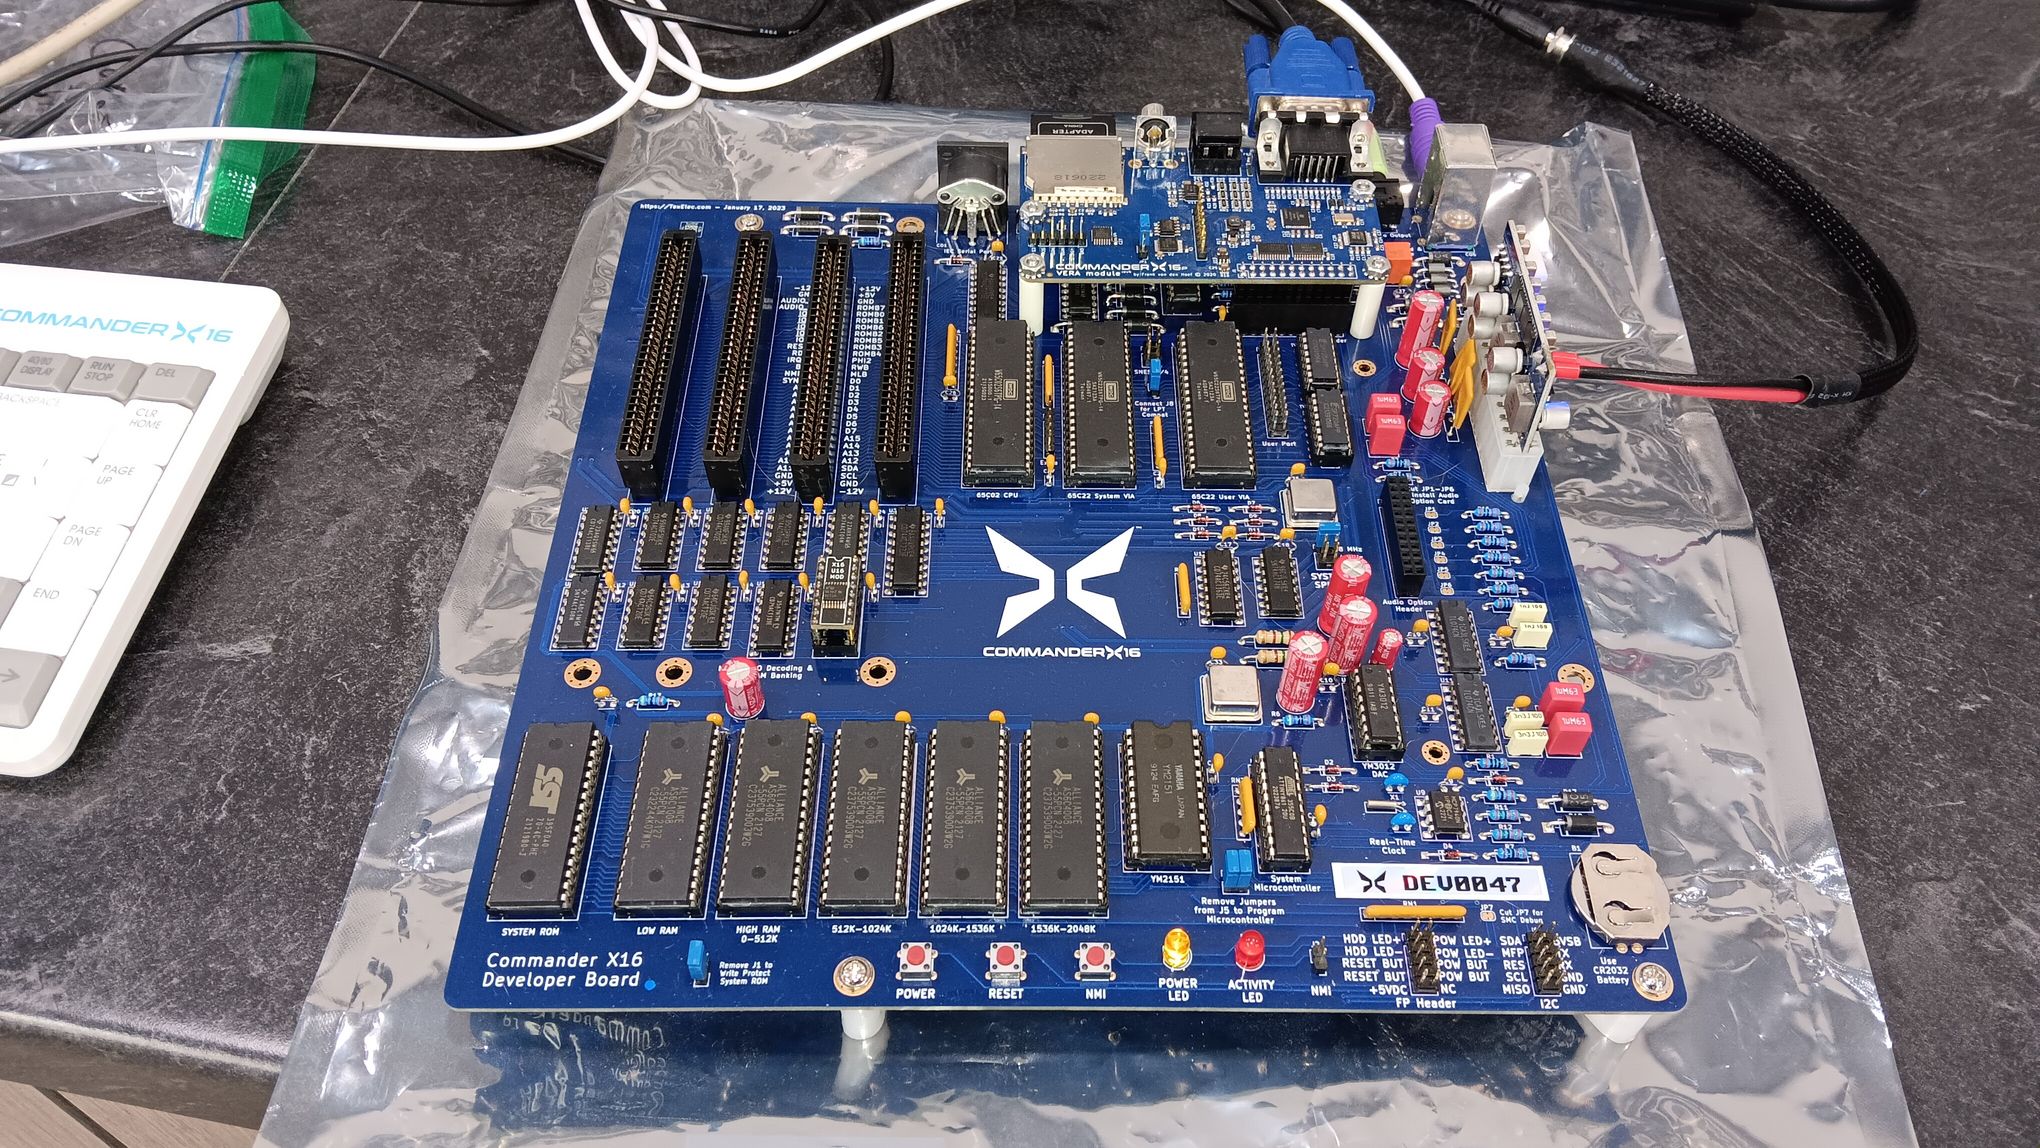
Lots of individual projects on display in one place.


Pictures from the Indianapolis Vintage Computer Club meeting on October 14, 2023.
Lots of individual projects on display in one place.
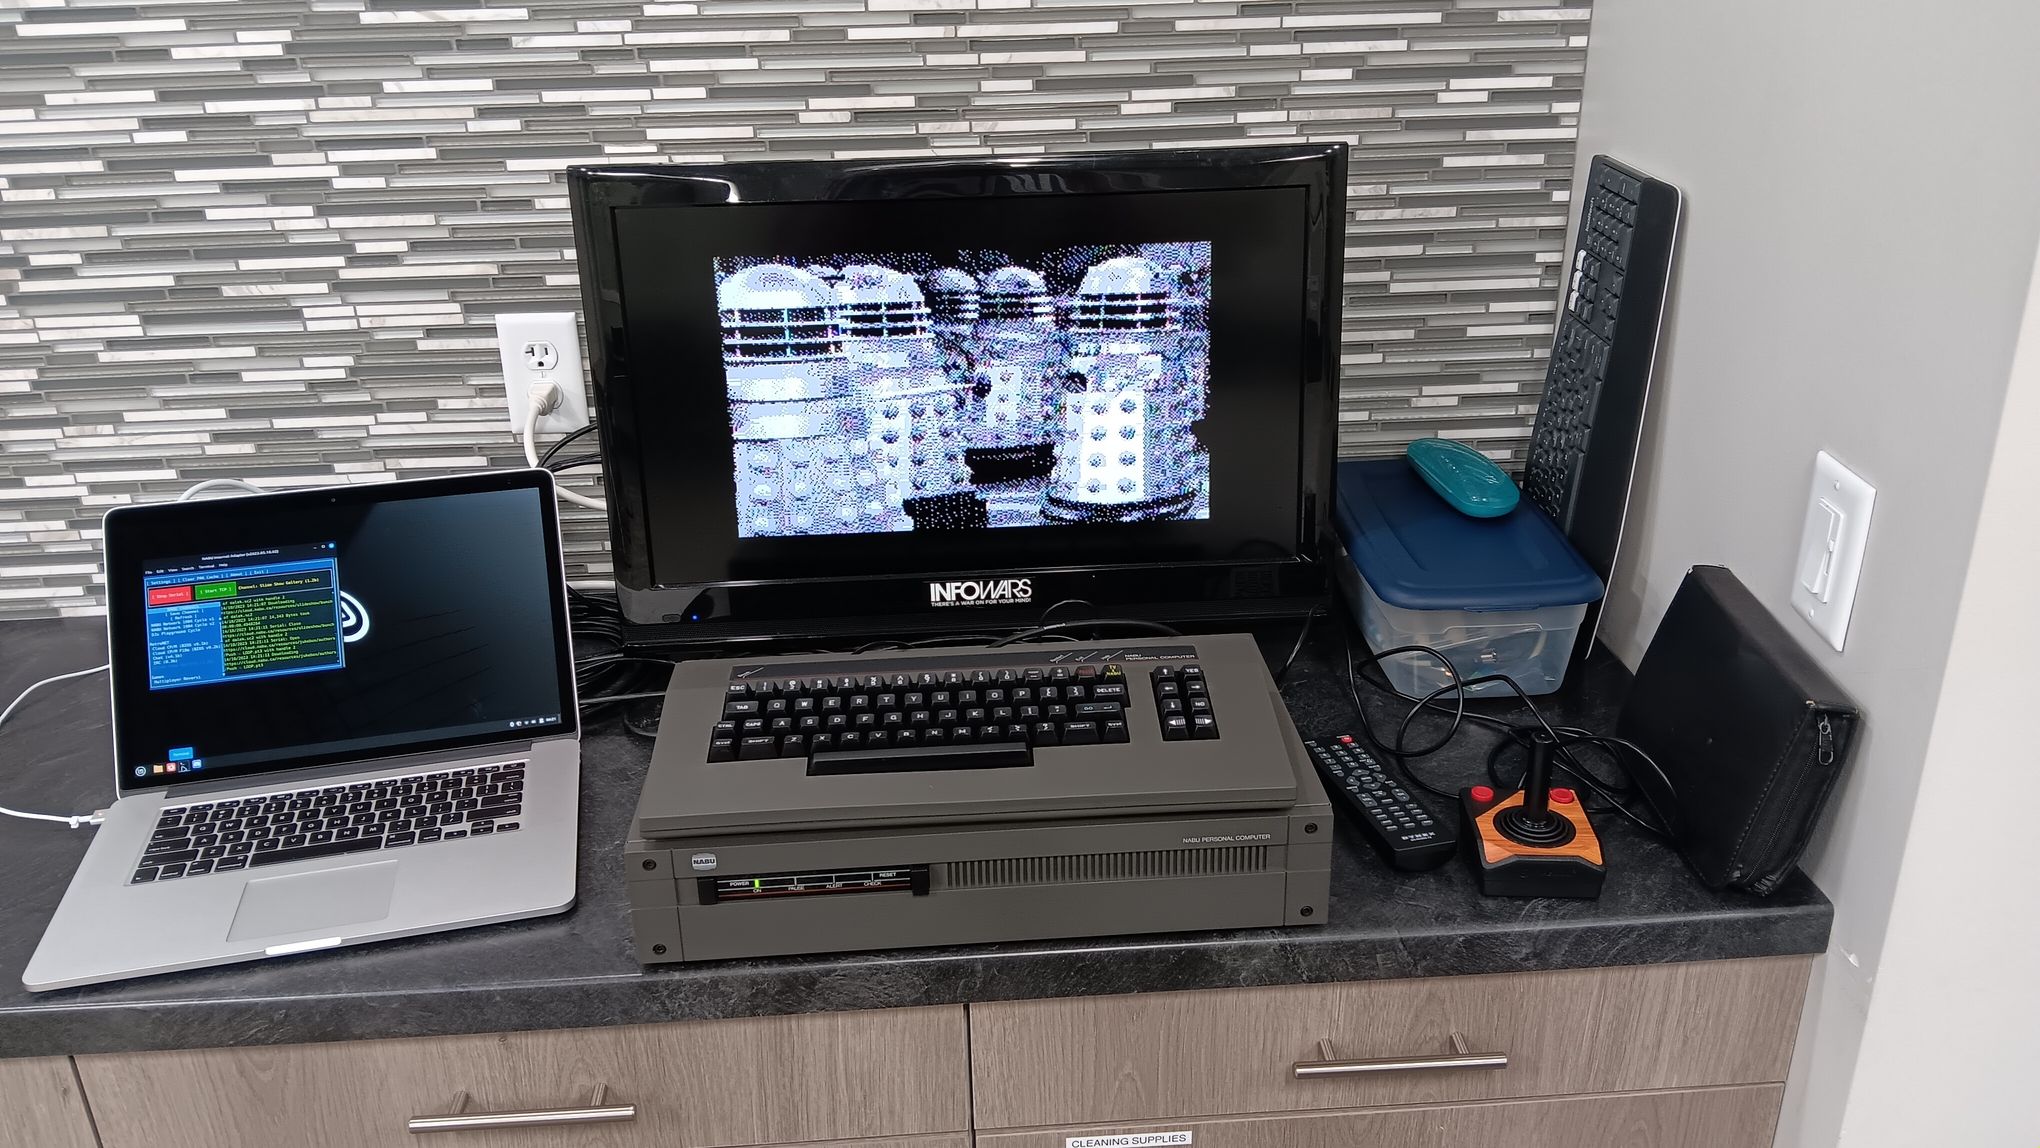
The NABU Internet Adapter Module (NIAM) is the name given to a method of mounting a Raspberry Pi Zero 2 W to the NABU computer, for an almost all-in-one solution. The reality is that a modern computer is still needed to select which experience the NABU will boot into, so a standalone solution this is not.
Below is the parts list for the NIAM. The prices listed are what was paid, including shipping and taxes, when the item was purchased. Some of these items were purchased in bulk and the price is a calculated price based on what is used in one NIAM. The total coast of the NIAM without purchasing a Pi Zero 2 W and Micro SD card is around $12. If you need to purchase the Pi and Micro SD card, the total is just under $38.
| Item | Quantity | Purchased Price | Notes/URLs |
|---|---|---|---|
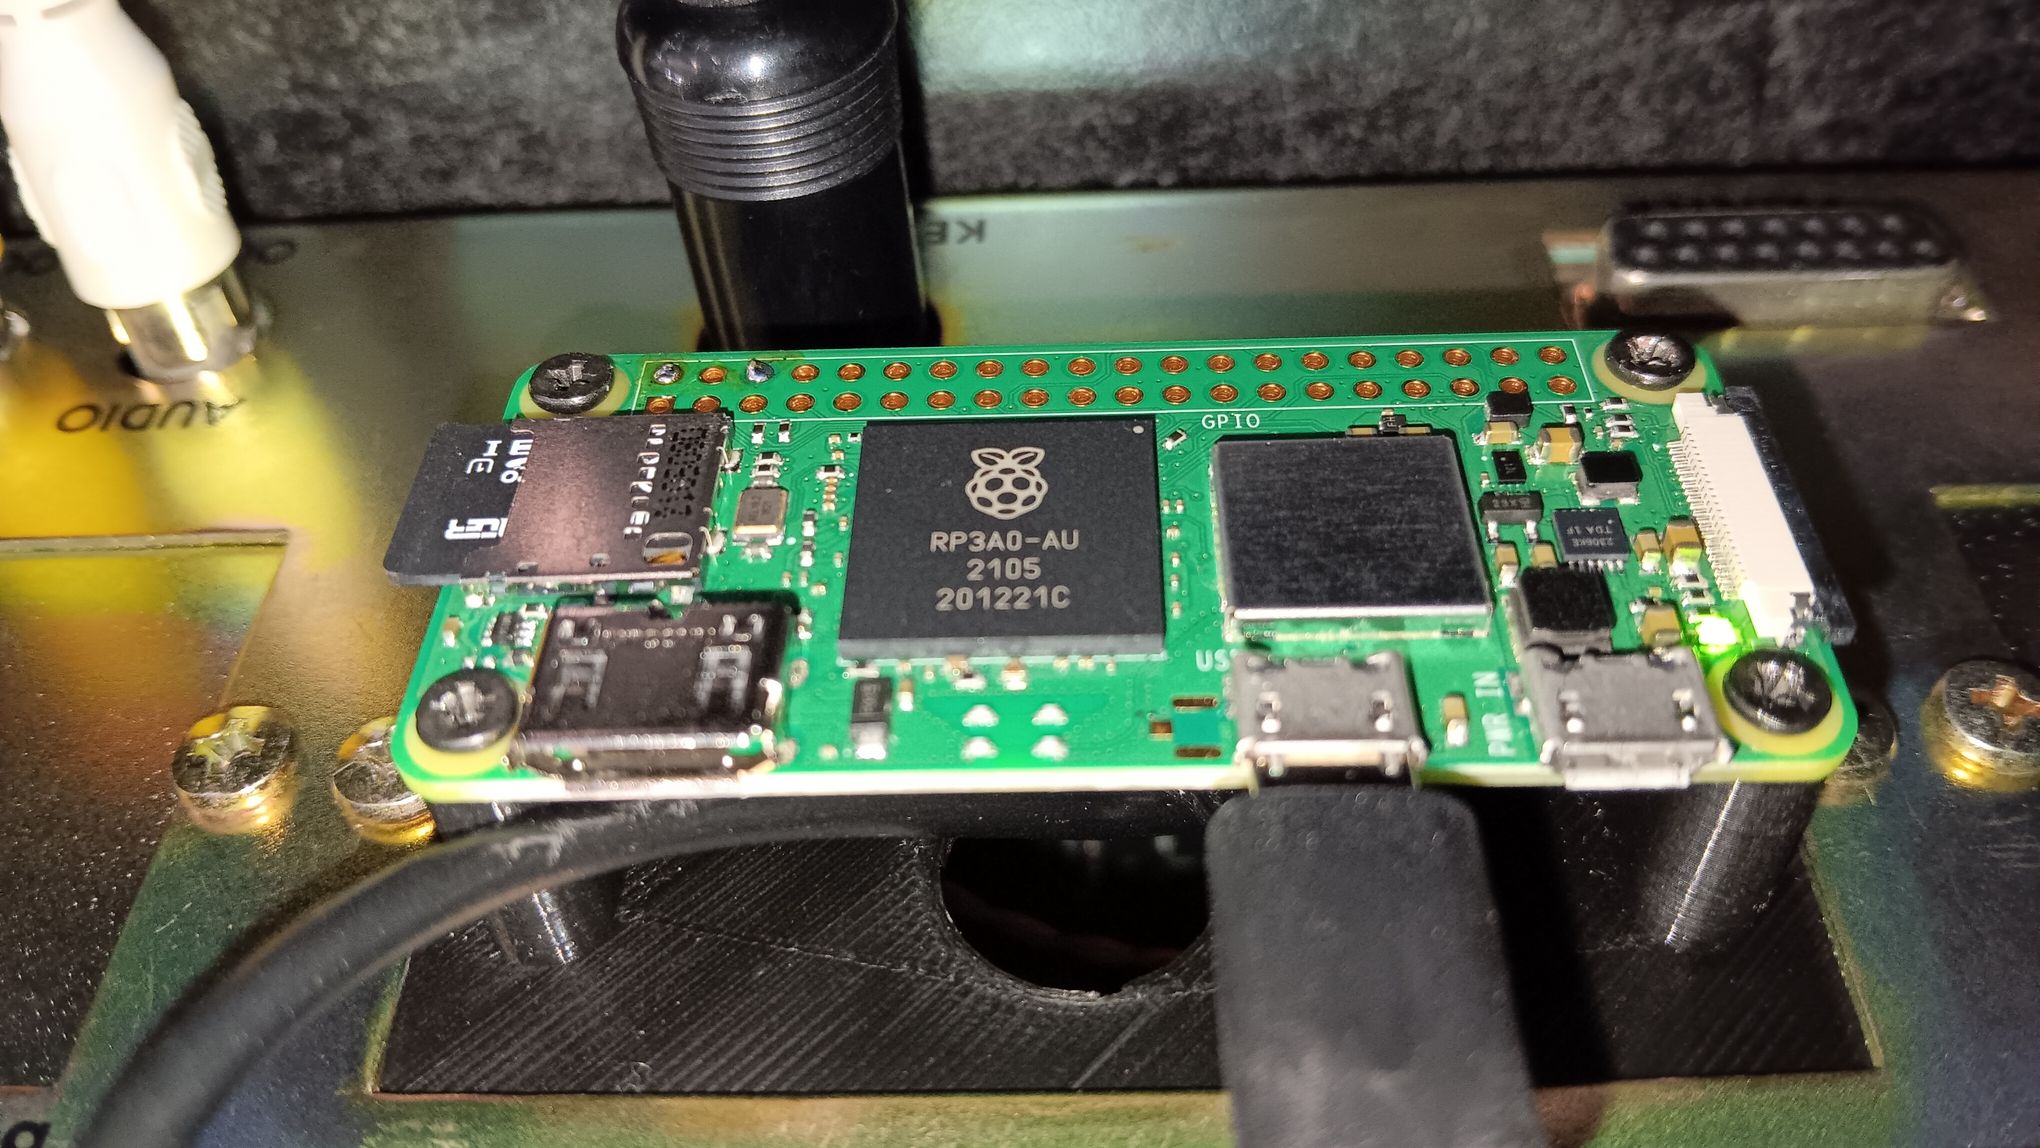
| Raspberry Pi Zero 2 W | 1 | $22.74 | Zero 2 W is required because of the Internet Adapter software’s use of the Mono platform. |
| Micro SD card | 1 | $3.20 | 8 GB minimum, used a 32 GB SDHC Class 10 in my build, which does not pass RPI SD card test, but works fine. |
| NABU RPi Zero 2 W Expansion Port Mount | 1 | $0.40 | https://www.tinkercad.com/things/bmSCbvqAeRj |
| NABU PC native USB to serial adapter PCB | 1 | $4.00 | https://www.pcbway.com/project/shareproject/NABU_native_USB_to_serial_adapter_4c1e523b.html |
| 40 pin DIP 2.54mm pitch IC Socket | 1 | $1.51 | A low cost socket is OK if not intending on re-seating IC multiple times. |
| Gold Plated 2.54mm Male 40 Pin Single Row Straight Round Pin Header Strip | 2 | $1.83 | https://www.ebay.com/itm/171830872054?hash=item2801eb07f6:g:OWIAAOSwiHpaG-pk&amdata=enc%3AAQAIAAAA8AVUuGcP02luQocIwFqdQrJGMYvwcsIq1ZX8oBMYQIAaF76A72MYZAl0nPeiV44xKiiTEX8bttHuybXdyO%2B6IGb%2BNq6D4XYso28flhshmeZ%2FXkgr0m499T3rIO1xnZxVN%2BkDrIlWCPiN3uB%2F3dp%2BA1h7RhlaqNCHEqZ2bTUB%2F7qM7y1FFQ3S%2BMsyOFlYs5joPTAacaZG9nIGO5lKAt264mr1KVbaQCDpWe7G%2F4FE0%2B483AOLo1vZLeG46Zr3k3r9YdItIQ2w%2F9Doos6FoWZ7S3hrHgVahCnhO5jvOIDiQedLNUXTNygKHeXS7Tr8gID8DA%3D%3D%7Ctkp%3ABk9SR6C-v8XhYg Use quality machined pin headers for this part. |
| 9 pin 2.54mm Male pin header | 2 | $0.05 | https://www.ebay.com/itm/192706747569?var=492848441034 Make the 9 pin headers from a larger unit. |
| 8″-10″ length of twisted pair 28 gauge solid wire | 1 | $0.03 | Obtain from a cat solid stand CAT5 cable. Do not use a longer run than 10″. |
| 10″-12″ Micro USB male to Mini USB female cable | 1 | $1.62 | https://www.ebay.com/itm/125789732124 |
| USB to TTL converter | 1 | $2.53 | https://www.banggood.com/Geekcreit-FT232RL-FTDI-USB-To-TTL-Serial-Converter-Adapter-Module-Geekcreit-for-Arduinno-products-that-work-with-official-Arduinno-boards-p-1986031.html?cur_warehouse=CN |
| M2.5×7 Screw | 4 | $0.05 | Alternatively use M2x18 or M2x20 screws if the screws don’t bite into the mount sufficiently and the Pi must be mounted using nuts. |
Also keep in mind that everything needed to operate a Raspberry Pi Zero 2 W will also be needed for setup.
Software install is first because the Pi will have wires soldered directly to it through the port mount, so it will be easier to work with it loose before mounting.
Install the software. More to come…
Build the module. More to come…
Install the mounted Pi. More to come…
Use the NIAM with the NABU. More to come…
Change the wifi settings. More to come…